Hello friends,
In this post we will discuss everything about the object repositories in UFT.
Introduction
Object repositories are used to store the object details. These details will be used by UFT at runtime to identify the objects and perform the desired operations on them.
Types of Object repositories
There are two types of object repositories
Local
Local object repositories are created by UFT when you start recording or add any objects using object spy or object repository window. These objects are stored within a “.BDB” file and the default file name will be “ObjectRepository.bdb”. As the name suggests these files are local to particular action and for each action there will be a separate “.BDB” file.
Shared
As the name suggests, shared object repositories can be shared with multiple actions and tests. These repositories can be created by exporting the Local object repositories. Shared object repositories will be stored with extension “.tsr”.
Working with Local Object Repository
Adding New Object
There are two ways for adding the objects the UFT’s local object repository.
Recording
Start recording the actions on the desired application and UFT will automatically create the object repository for you. To start the recording use  button.
Add Object to Local Button
you can also add the object directly to the object repository. To directly add object
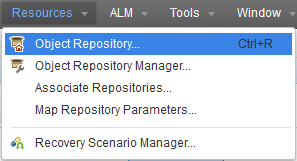
- Open object Repository (Click Resource->Object Repository)
- In the object repository window, Click on Add objects to local button
 . You can also open it by using
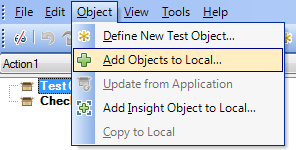
- Click on the object you want to add to the local object repository. You will see the object selection dialog box
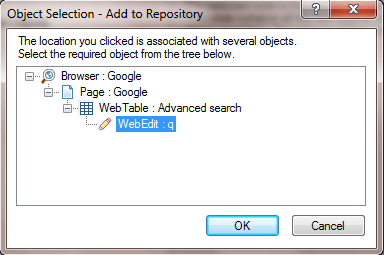
- In the object selection dialog box, you can select the objects which you want to add to the object repository. Click OK.
- You will see the objects added to object repository. If you select a child object then, required parent objects will be automatically added.
Update Object description from application
If you have modified the objects description or UFT is unable to identify the object then you can revert back the changes for the object by using the “Update from application button”. To update the description from the application
-
Click on Update from application button
 or click on
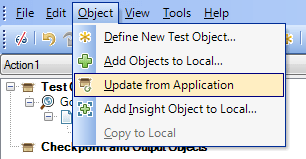
- Click on the object in the application. You will see the object selection window, select the object you want to update and click OK.
- Description properties of the object will be updated with the currently displayed properties in the application.
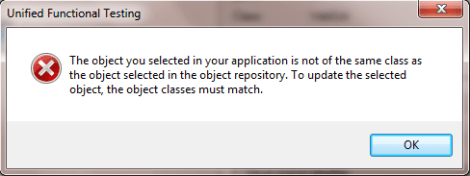
Note: class of the object which you are planning to update must match the class of the object you selected in the object selection window. So in simple terms, you can’t update a textbox with button. You will receive the following error message
Highlighting Objects
You can highlight a particular object to identify, if the added object is the right object. To Highlight an object
- Select the object and click on the Highlight button or
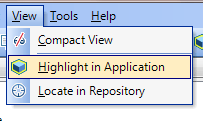
 or click View->Highlight in application
2. UFT will bring the application to front and highlight the object.
Creating new objects manually
you can create the objects manually, by using “Define new test object” button. To create the objects manually
- Click on the parent object under which you want to create the new object.
- Click on the Define new test object button
 or Click Object -> Define new Test object.
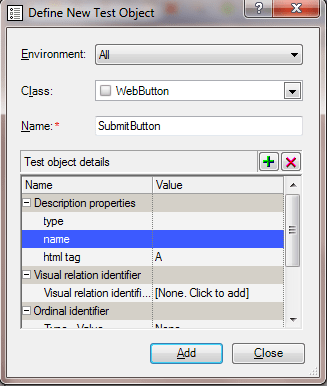
 - Define new Test Object dialog will open. Select the environment, class and provide the name and the properties of the object.
- Click on Add button.
- Click on Highlight button to highlight the object.
Locate in Repository
Locate in repository is a useful feature when a group of people are working on the scripts. Using this button you can identify if an object is available in the object repository. To Locate object in repository
- Click on Locate in repository
 Button or click View->Locate in repository.
 - Object selection window will appear. Select the object and click ok.
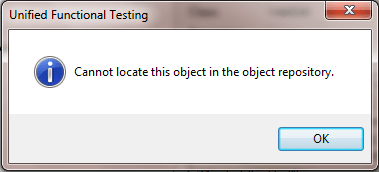
- If the object is available in the Object repository then the object will be highlighted. Otherwise you will see the below popup
Using Object Spy to add the Object
You can also add the objects using the object spy. For adding the objects using the object spy, Open the object spy, by clicking on  or Click Tools->Object Spy.
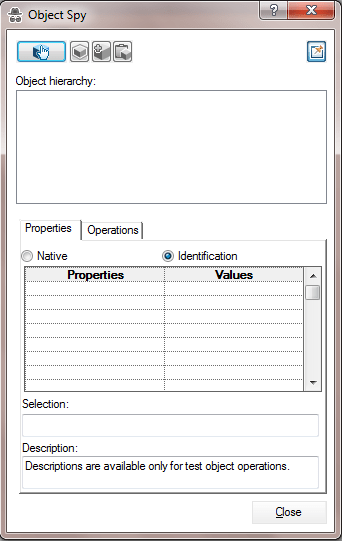
- Click on the Pointing hand
 and click on the object after that. You will see the object hierarchy in the object spy.
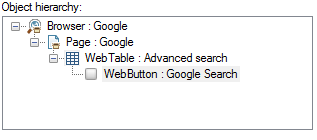
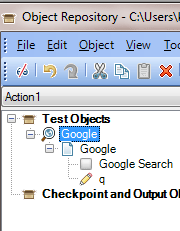
- Click in the object you want to add to the object repository and then click “Add object to repository”
 button. Object will be added to the repository and you will see a small brown rectangle in the object’s icon.
Working with Shared Object Repository
Creating shared Object repository
For creating shared object repository,
- Open the object repository by Clicking Resources->Object Repository.
- In the Object repository window, click on the File->Export Local objects.
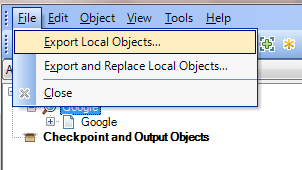
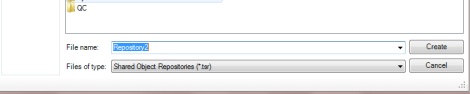
- Export Object repository dialog box will open. Select the path and provide the file name for the exported object repository. Click Create Button.
Now let’s see how to associate them back to the UFT’s actions.
Associating Shared Object Repository
Once you have the Library exported, you can delete the objects from the Local object repository and Import the shared object repository using the below steps.
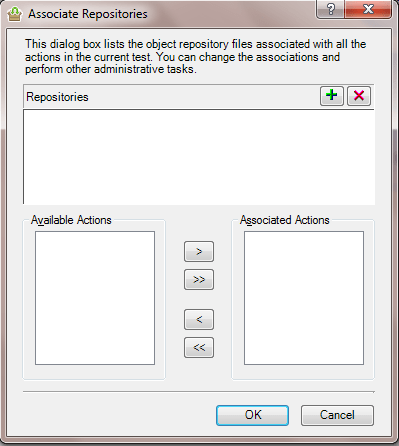
- Click on Resources->Associate repositories.
- Associate repositories dialog box will open.
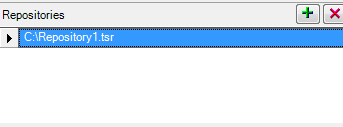
- Click on the plus icon
 and select the path of the shared object repository and click open.
 - You will see the Object repository path under the repositories
- Now select the actions you want to associate the repositories and Click on the select button
 . Selected actions will move to the associated actions box.
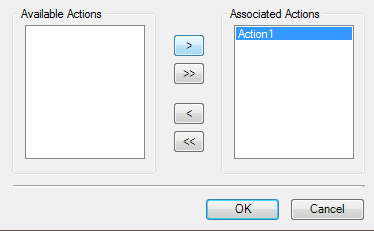
- Click ok and open the object repository. Your objects should be back, but because its shared object repository, you can’t edit any objects in the object repository window.
To edit any objects, you will have to use object repository manager
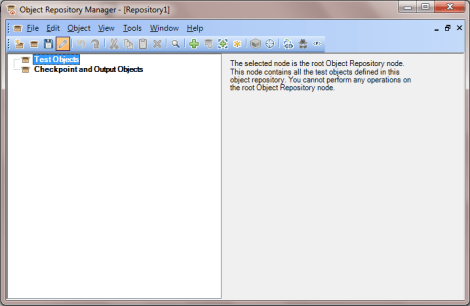
Object Repository Manager
Object repository manager is used for editing the shared object repositories. To open object repository manager click Resources->Object Repository manager.
To edit shared object repositories,
- Click on File->Open and open the exported repository.
- Click on enable editing
 button. This will allow you to enable the editing of the shared object repositories.
 - You have all of the options which we have discussed about the local object repositories here. So you can Add new objects, highlight object or locate objects.
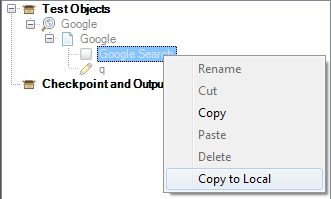
Copy objects to Local OR
You can use this option if you want to import the objects back to the local object repository, from the shared object repository.
For importing objects to local,
- Open Object repository.
-
Right click on the object which you want to add it to the local object repository and select Copy to local.
Once the objects are copied to local object repository, you can disassociate the shared object repository.
Changing Object Identification properties
Each object, which you will add in the object repository will have the properties associated to it. If you want to read about how object identification works in UFT, then click here.
To change the properties of the local object repository, open the object repository. To change the properties of the shared object repository open the object repository manager and click on enable editing button.
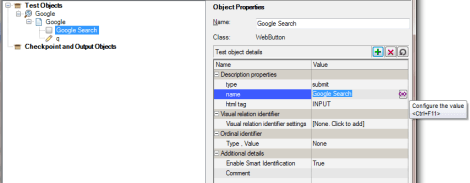
Below are the snapshot of properties added to the OR for google search box
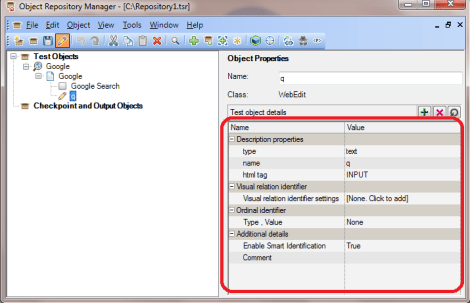
So to identify the “q” text box on google search page, UFT will use type, name and html tag properties. You can either edit these properties, add the new properties or delete the existing properties.
To add new properties Click on the “Add description properties”  button
Add properties dialog box will open select the properties you want to add and click ok button.
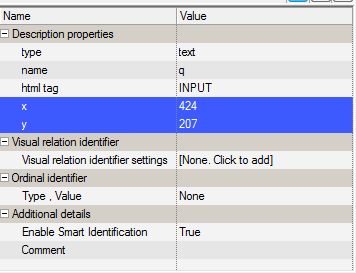
I have add the x and y co-ordinates for the “q” textbox in the above screenshot.
To delete properties click on “Remove selected description properties”  button.
Adding regular expressions to the object values
You can add the regular expressions to the identification property value.
To add regular expression
- Select the object and click on the value where you want regular expression
- Click on “configure the value” button. Repository parameter dialog box will open.
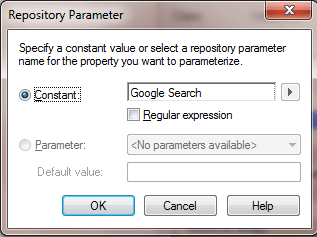
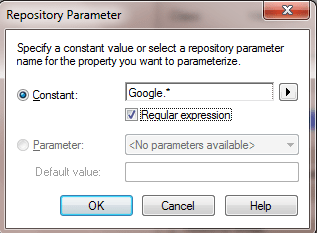
- Click on the regular expression checkbox and provide the regular expression. Click OK.
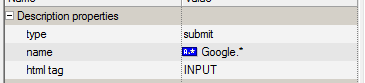
- Once the object is set to use the regular expression, you will see little “.*” in front of the object value.
- Highlight the object and check if it works.
Let me know, if you have any questions.

